


Master the Art of Using Damage-Free Nails: A Complete Guide
1. Gather Your Supplies
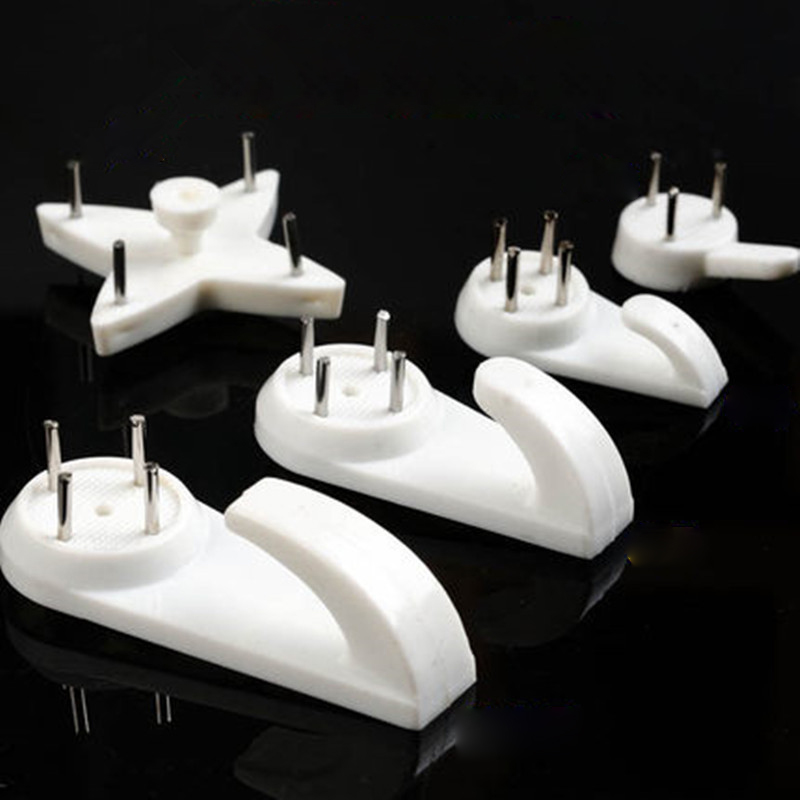
Before you dive into the installation process, it's essential to gather all the necessary supplies. Of course, the star of the show is the damage-free nails themselves. Make sure to choose the right type and size based on the weight of the item you plan to hang. Light-duty damage-free nails are perfect for things like small picture frames and lightweight wall art. For heavier items, such as large mirrors or bulky wall shelves, opt for heavy-duty versions. Along with the nails, you'll also need a hammer, a tape measure, and a pencil.
2. Mark the Spot
Using your tape measure and pencil, carefully mark the spot on the wall where you want to place the damage-free nail. If you're hanging a single item, aim for a spot that's centered and at the right height. For a gallery wall or multiple items, lay out your pieces on the floor first to plan the perfect arrangement, then transfer the markings to the wall. Double-check your measurements to ensure everything looks balanced and aesthetically pleasing.
3. Install the Nail
Hold the damage-free nail with the hook facing upward and position it at the marked spot on the wall. Make sure it's perfectly vertical. Then, using a hammer, gently tap the top of the nail. It's important to apply even pressure and tap slowly to avoid bending the nail or damaging the wall. Keep tapping until most of the nail is embedded in the wall and the hook is firmly in place. Different wall materials may require slightly different techniques. For drywall, be careful not to push too hard and create a big hole. With tile walls, tap extra gently to prevent cracking.
4. Hang Your Item
Once the damage-free nail is securely installed, it's time to hang your item. Carefully place the hanger or hook of your item onto the nail and make sure it's stable. Give it a gentle tug to check if it's firmly attached. If the item isn't hanging straight, you may need to adjust the angle of the nail slightly or reposition it altogether.
5. Key Tips and Tricks
- Weight Limit: Always respect the weight limit of the damage-free nail. Overloading it can cause the nail to come loose and your item to fall, potentially causing damage or injury.
- Wall Type Matters: As mentioned earlier, different wall types react differently to damage-free nails. Avoid using them on soft wood walls, as the nails may not hold well, and steer clear of plaster walls that are prone to crumbling.
- Removal: When it's time to remove the damage-free nail, don't just yank it out! Use a pair of pliers to grip the base of the nail, gently twist it, and pull it out slowly. After that, you can easily patch up any tiny holes left behind with spackle or putty.
- There you have it, folks! With these simple steps and tips, you'll be using damage-free nails like an expert in no time. Transform your blank walls into a showcase of your style and personality without the fear of causing permanent damage. Now, go ahead and start decorating! And if you have any cool experiences or additional tips to share, drop a comment below. I can't wait to hear from you!